Below you will find a quick guide for Setting Up Queues for your account.
Step 1:
In the upper left hand corner of Updox, click Menu - Admin - Queues.
Step 2:
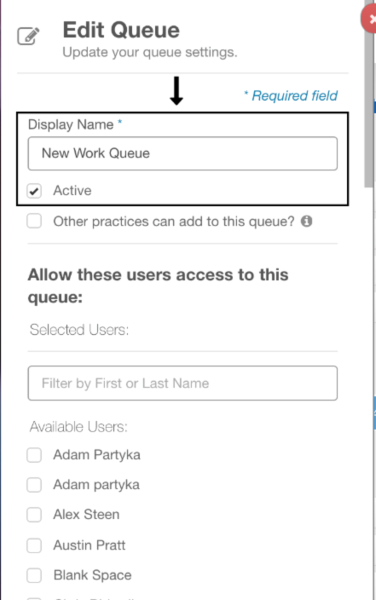
Click on New, then enter in the name of your queue.
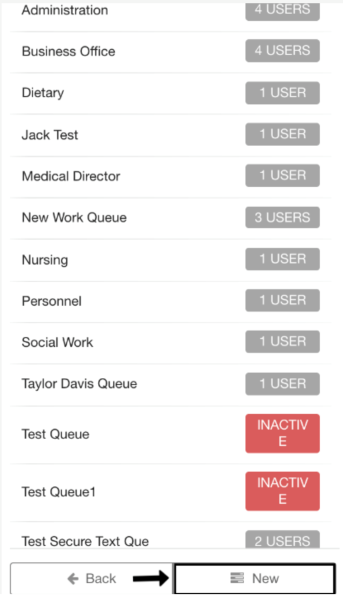
2a. Be sure to mark “Active” to make the queue available.
Step 3:
Allow other Updox users access to this queue by choosing their name in the list. Keep in mind a user will not be able to see your new queue unless they are granted access. Click Save at the bottom once you are done.
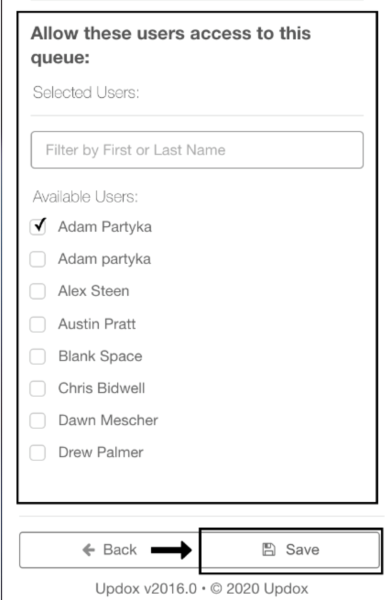
Tip: You must also grant yourself access to view this queue even if you are the creator. Be sure to find your name and check mark it in addition to the other users.
Step 4:
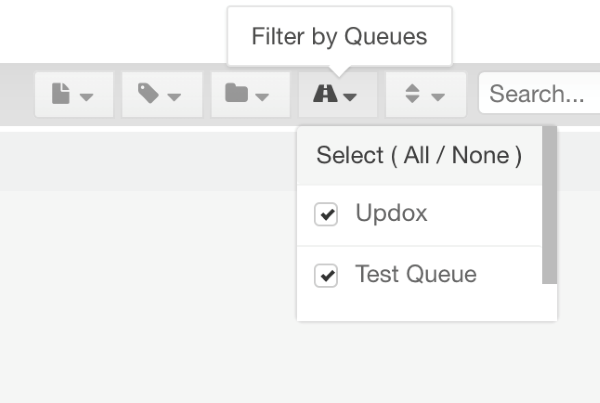
Log out of Updox by clicking Menu > Sign out. Log back in to view your new queue within your Updox account by clicking the queues button in the upper right hand corner.
Be sure to check mark this queue within the filtering options to view its contents in your Updox inbox as shown below.
Tip: Keep in mind, you will not have the ability to see this new queue until you log out and back in to Updox.