How do I use Secure Text with Queues?
1. From the Updox Inbox, select the text message button to initiate a text.
2. Be sure Secure Text is selected, then search and select a recipient under Send To. You can choose to send a secure message notification message by text, email, or both.
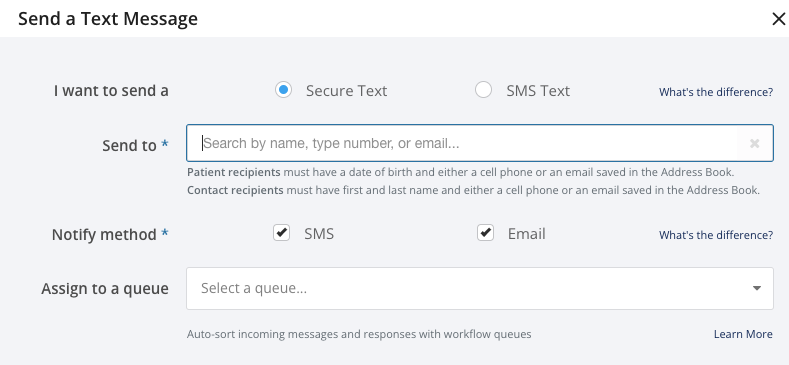
3. Under the Assign to a queue dropdown, select a queue from which you would like to send the message. Users must be a member of a queue to send from that queue. If a user is not a member of any queue, then the Assign to a queue option will not appear.
NOTE: It is possible to create a queue with only one user in it. This allows for private, one-on-one conversations. It is also possible to create queues based on department, location, or workflow. See How to: Set-up Queues for more information.
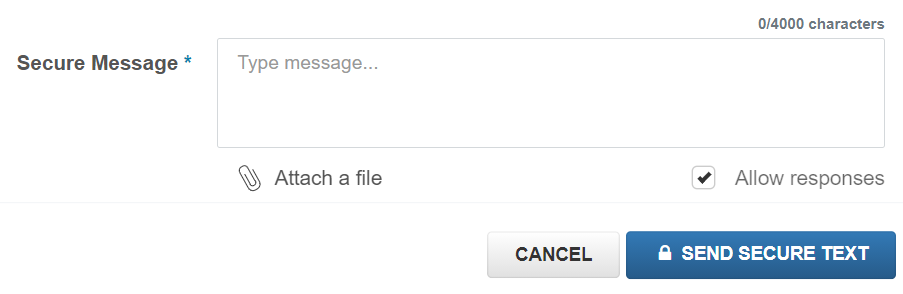
4. Type your message in the Secure Message area, then click Send Secure Text.
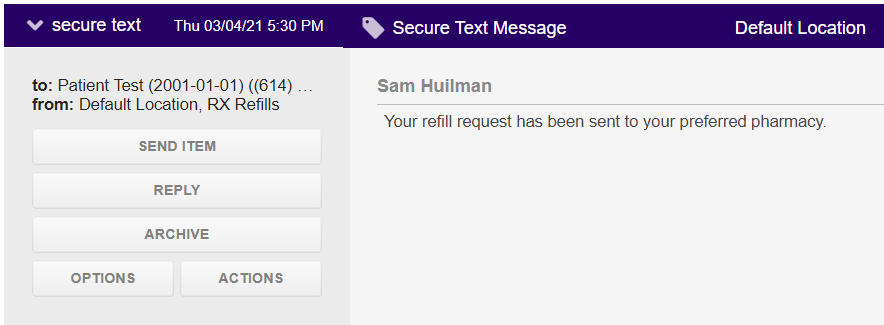
5. The item will appear in the Sent folder with the queue showing in the From field. The user sending the message will be shown above the body of the message.
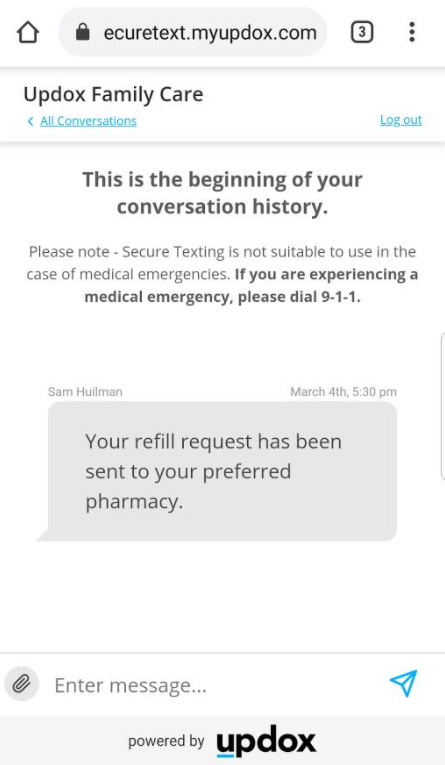
What does the patient see?
The recipient will log into the Secure Text environment as normal, receiving and sending messages normally. Recipients will be able to switch between threads by pressing the All Conversations link at the top.
Each message reply sent back to the practice will be filtered to the appropriate queue, appearing in the inbox of only the users who are members of that queue.