**To use this printer you must also have Updox Central installed**
Note: Updox printers are currently incompatible with ARM-based processors on Windows devices. Our printers will not install on these devices.
Step 1: Navigate to the Control Panel
Select the Start menu and open the Control Panel. Depending on your version of Windows, there may be slight variations.
Step 2: Add a printer
Select Devices and Printers from the Control Panel and click on Add a Printer . Then click on The printer that I want isn't listed .
Step 3: Add a local printer
When the Find a printer by other options screen comes up , we are going to select Add a local printer or network printer with manual settings .
If you see a prompt that says Automatically detect and install --> Make sure it is not selected --> Click Next.
Step 4: Choose a port
We are going to use an existing port if it is available. From the drop-down list of ports, choose the Updox_9100 option. If this port is not available see below “create a new port”.
Click Next.
If you do not see Updox_9100 as an option, follow the instructions below to create a new port.
Creating a New Port:
- Select the Create New Port option.
- Select Standard TCP/IP Port as the type of port.
- Enter localhost for the Printer Hostname or IP Address.
- Enter Updox_9100 for the port name.
- If you have a Query the printer and automatically select the driver to use.
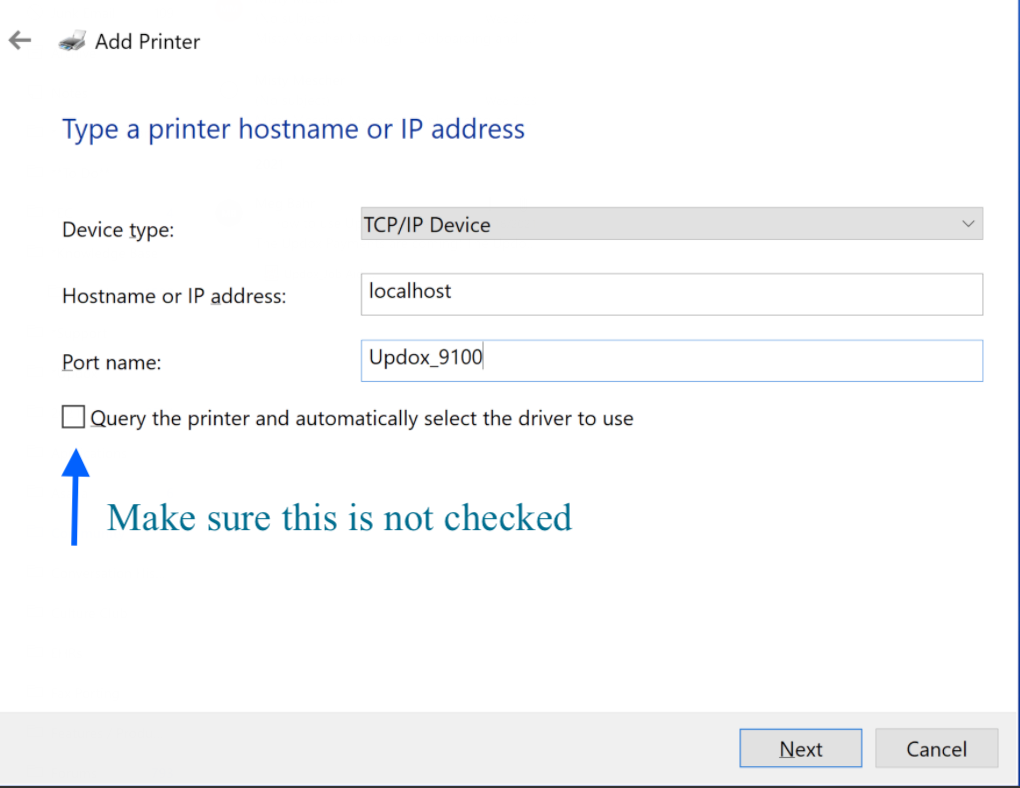
Click Next.
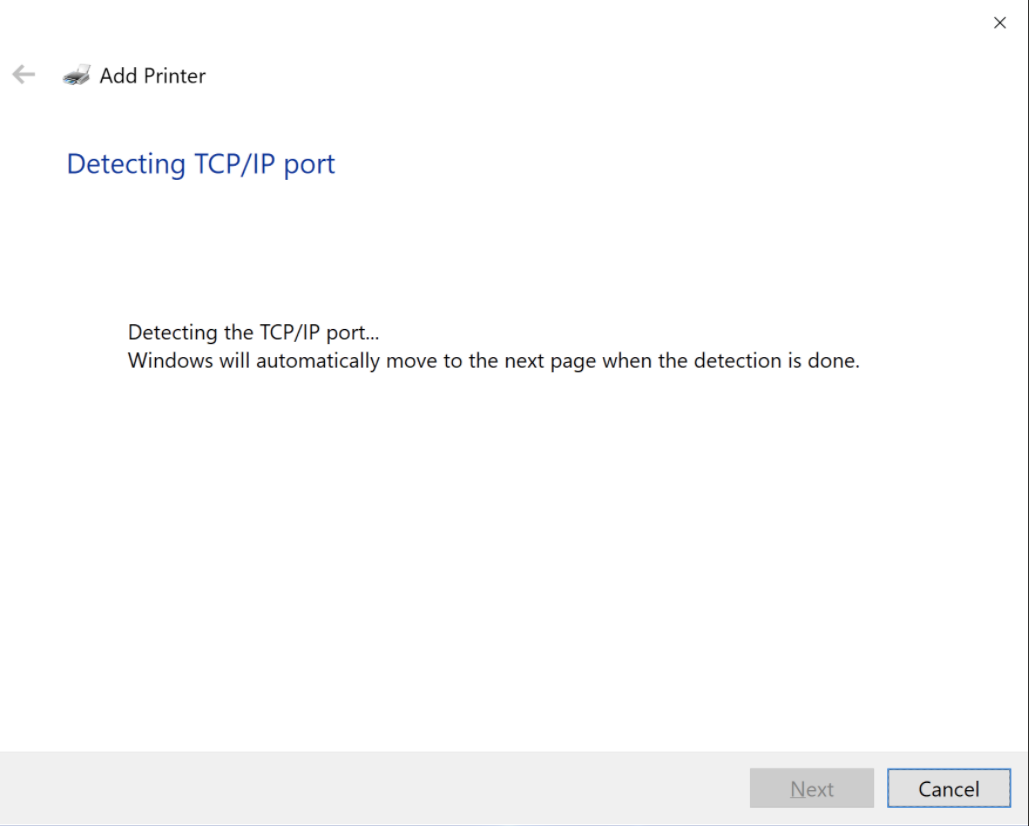
Windows will try unsuccessfully to detect the printer. This usually takes 30-40 seconds.
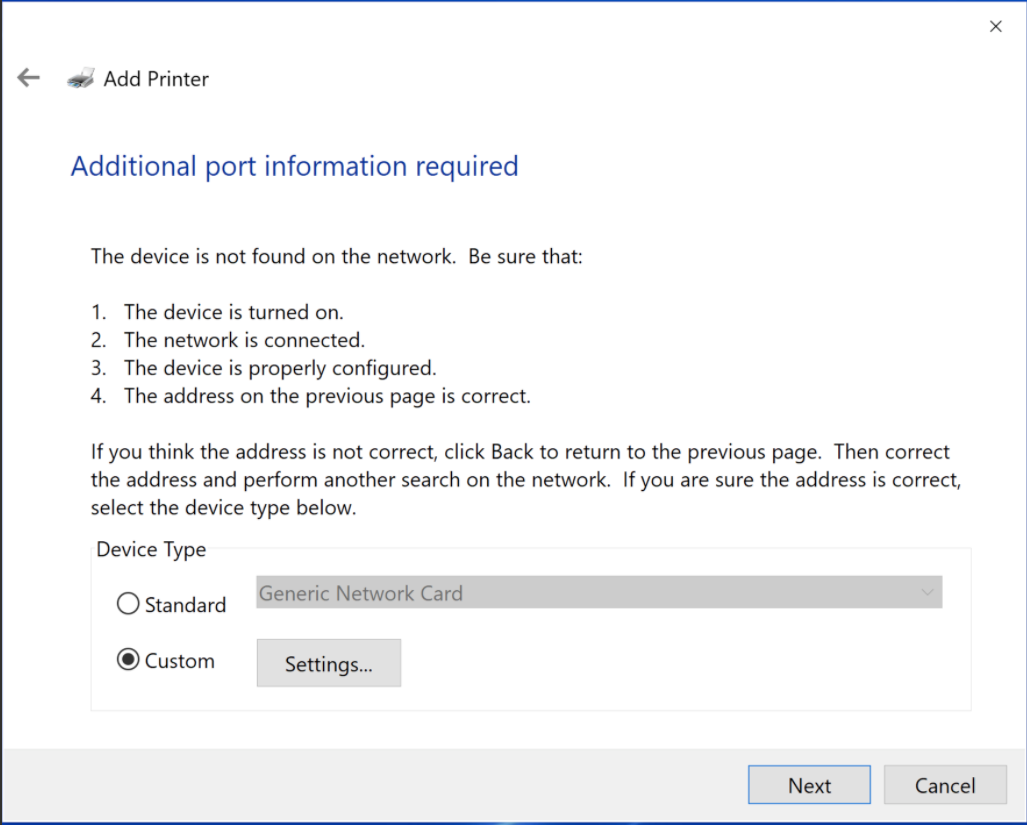
If you are using the default port of 9100, click Custom.
Then click Next.
If you had to chose a different port other than 9100 Click “Custom” & “Settings . Change the port to the same port set in Updox Central.
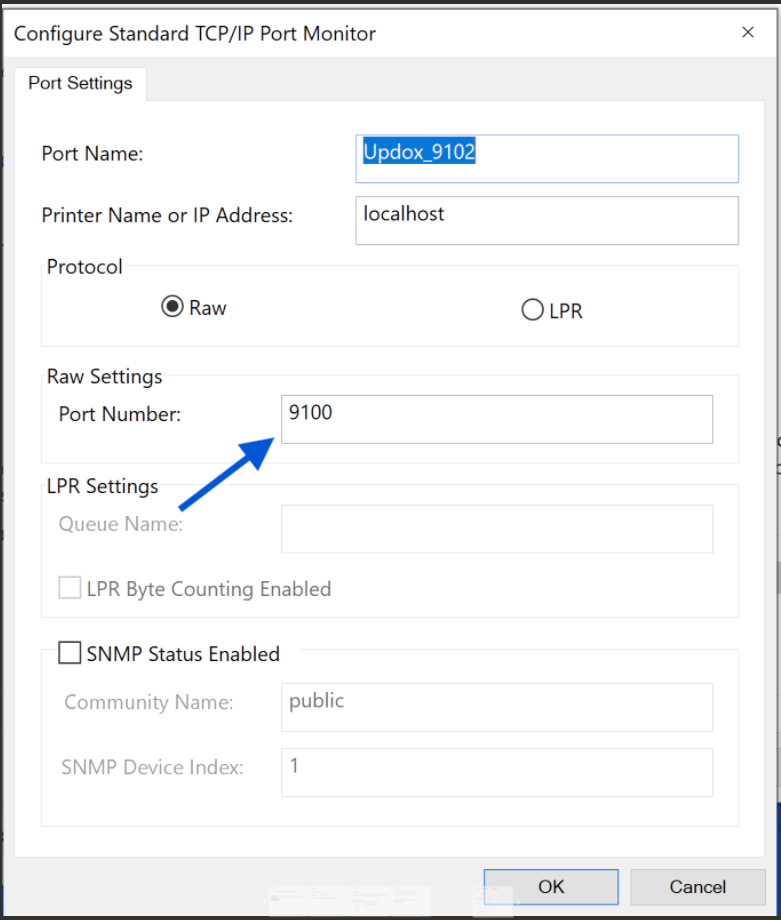
Click OK
Step 5: Choose a printer
You will be prompted to choose from a list of Manufacturers and Printers. On the left side under Manufacturer select HP from the list.
On the right you will select the type of printer. A ColorLaserJet Series PS printer must be selected do not select a PCL type driver.
- HP ColorLaserJet 2800 Series PS (Preferred)
- HP ColorLaserJet 3700 PS Class Driver
- HP ColorLaserJet 3800 PS Class Driver
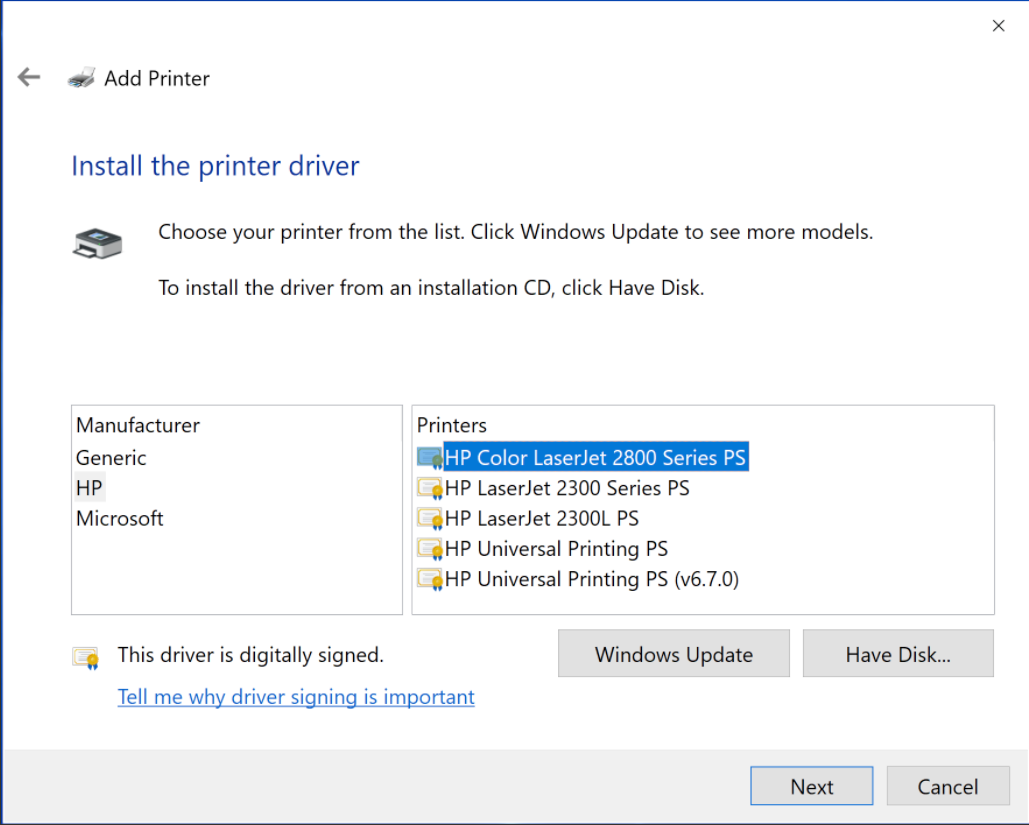
Click Next
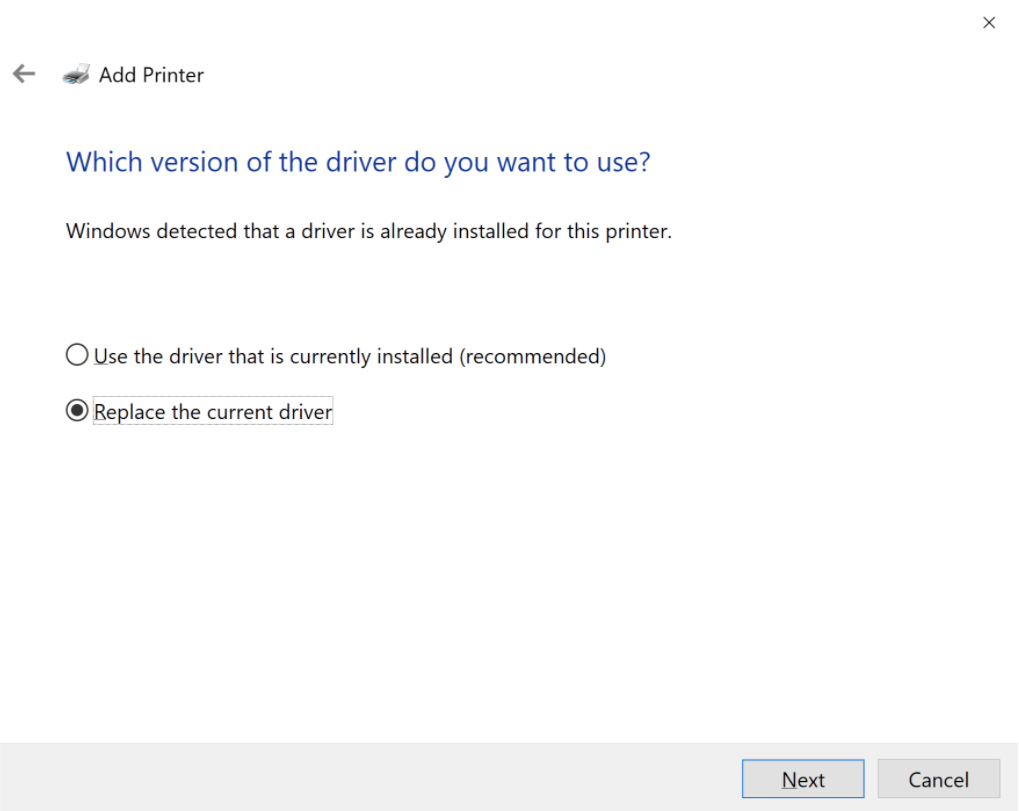
Click "Replace the current driver"
Then click Next.
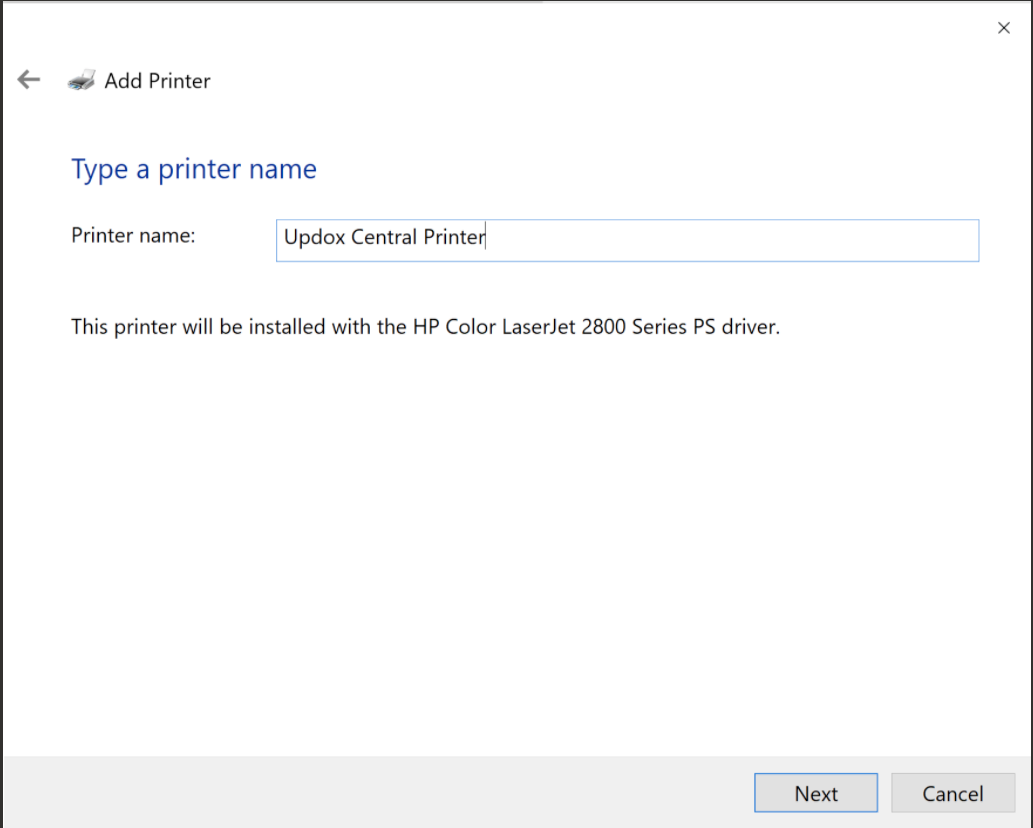
Step 7: Choose a name for this printer
Change the name of the printer to Updox Central Printer so it is easily identified from your list of printers.
Depending on your version of Windows, the following questions make be asked
- Make this the default printer? This is up to you, you can change this setting at any time.
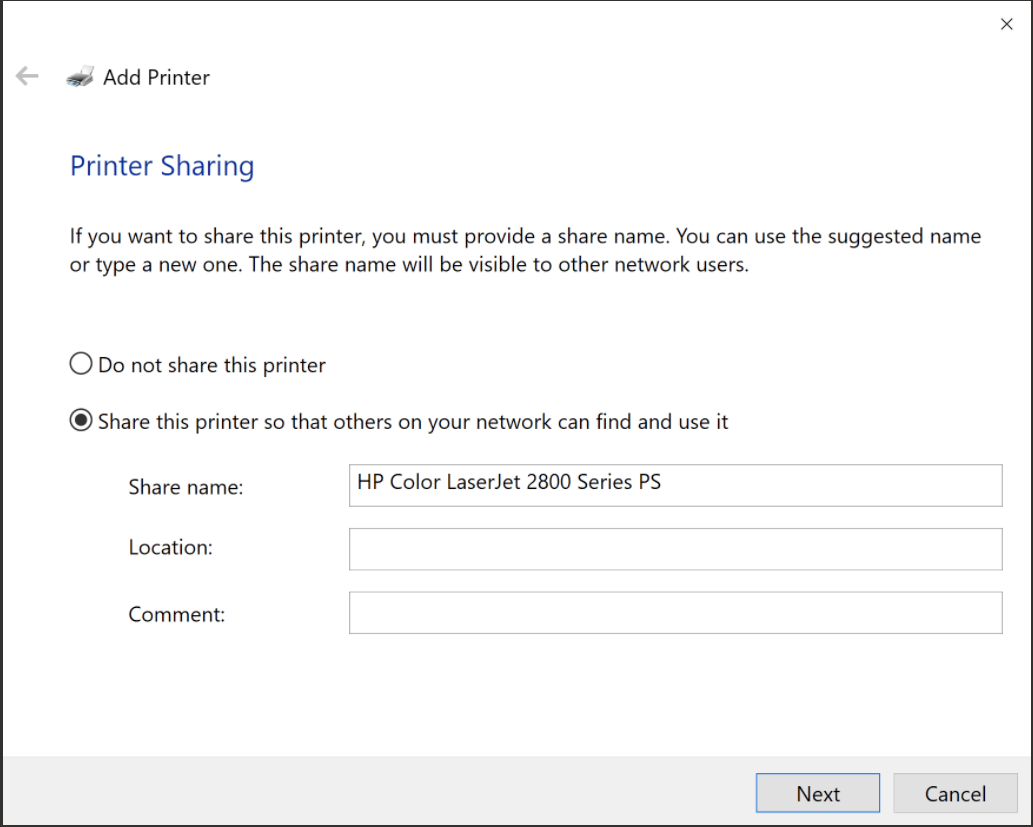
- Share this printer? Unless you know you need a shared printer, we recommend not sharing.