Adding a contact to your Updox Address Book helps save time and errors when sending outbound faxes and texts.
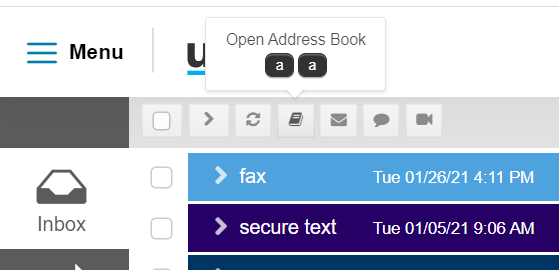
Step 1: From within your Updox account, click on the Address Book icon.
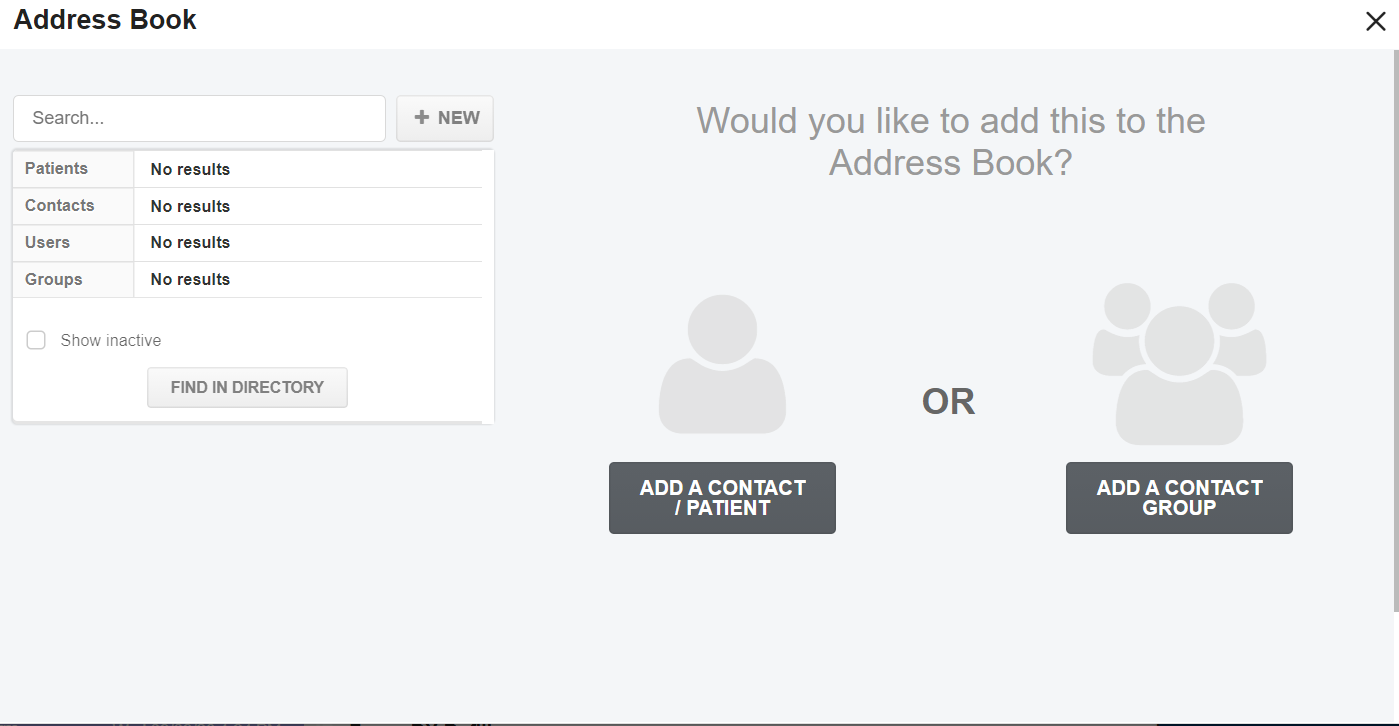
Step 2: Click ‘New’ then ‘Add a contact / patient’.
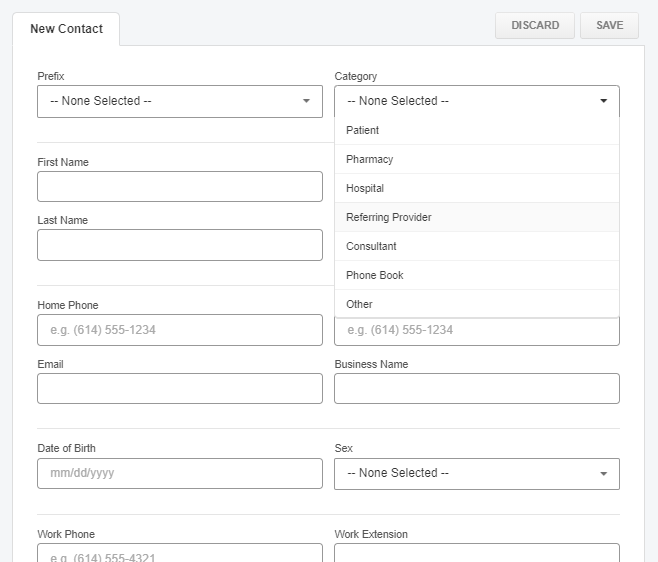
Step 3: Fill out the appropriate fields for your contact. Here are some common fields used:
- Category: Choose the category for your contact. Make sure this is set to anything BUT patient.
- First Name, if applicable
- Last Name, if applicable
- Cell Phone: Used only if you plan to use with Text
- Business Name: Encouraged for searching best practices
- Fax Number
- Address, if desired
Step 4: Scroll to the top and click ‘Save’.
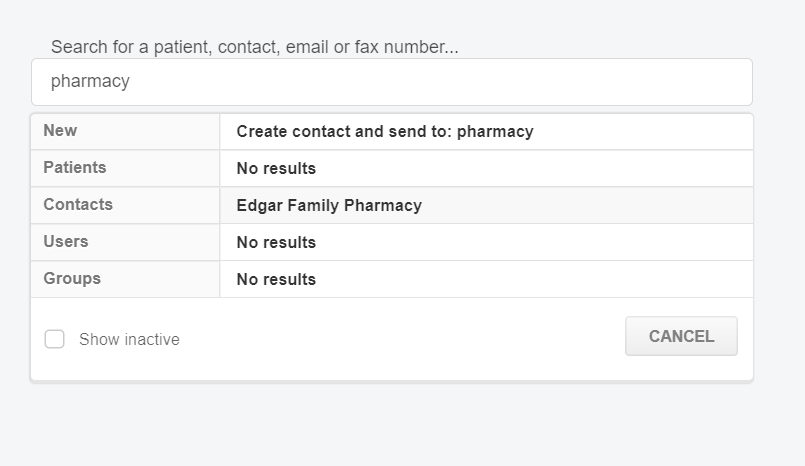
Step 5: When sending a fax or text, your contact will now be available in the search results.